Getting Images ready for use in Unity UI Toolkit
UI Toolkit has built in support for standard textures, this means that if you are using PNG files then UI Toolkit will allow there use with no conversions, you just have to set your background image to Texture 2D (default). This short tutorial is just to show you how to make your PNG images accessible as Sprites.
Import your Images
You can import your images by simply placing copies in your project folder within your Assets folder, where you put them within the Assets folder is up to you but I would recommend Assets/Resources/Images in order to follow standard practice. You can also drag the images into a folder in your Project Window and Unity will import them that way to. You can also read the Unity Documentation on how to Import a Texture
Convert to Sprites
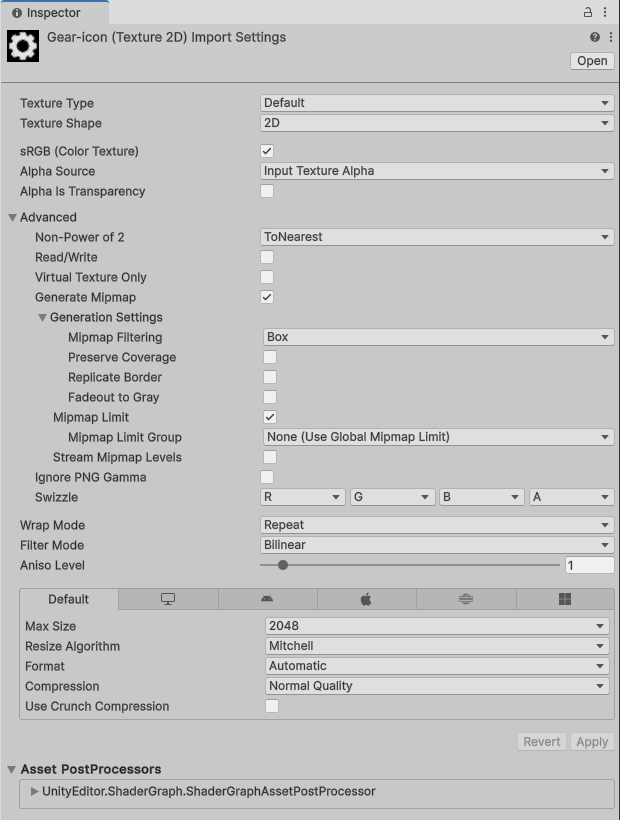
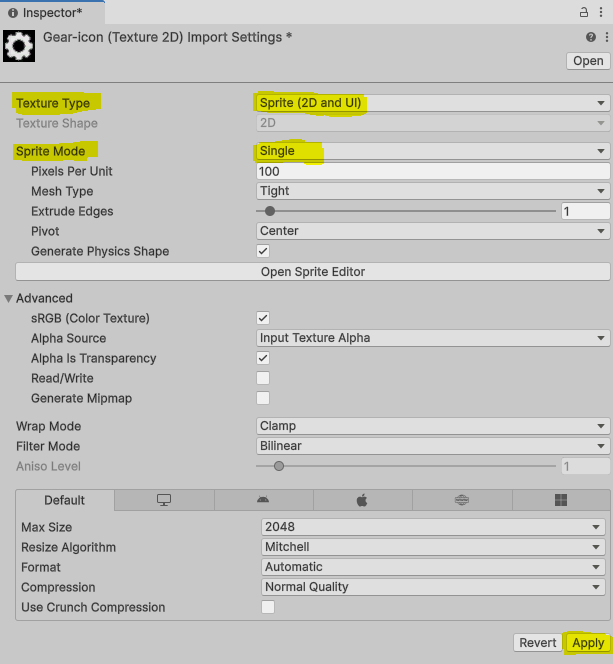
Select one of the images you want to convert in your Unity Project Window. Once selected you should see an Inspector view like the Initial Inspector View image. You need to change the settings to match the Completed Setings Image this will change the PNG image from being a Texture to a Sprite.
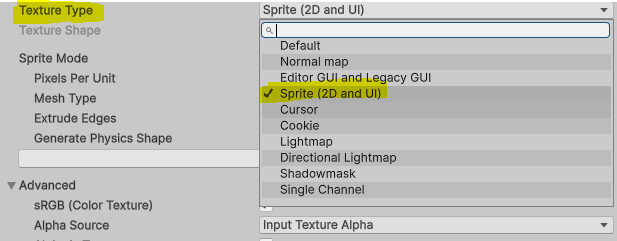
- In the Texture Type dropdown change from Default to Sprite (2D and UI)
- In the Sprite Mode Dropdown change from Multiple to Single
- Click Apply (you may have to scroll down to see the Apply button)