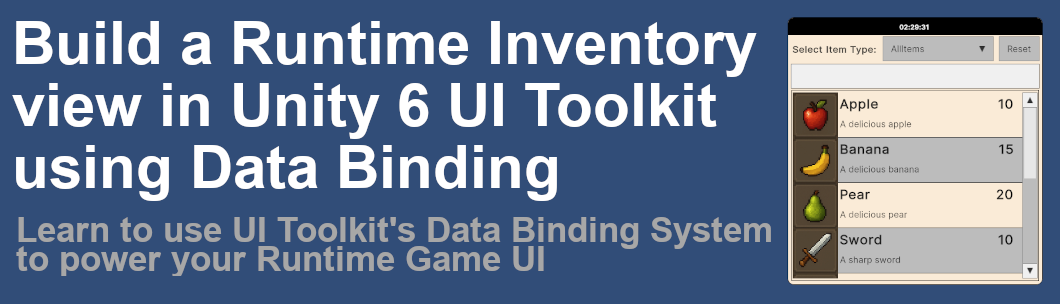
Create a Runtime Inventory View in Unity 6 UI Toolkit
Tutorial on building Runtime UI Elements that use the UI Toolkit Data Binding System for Visual Elements from C# scripts
Please Note:
This article is a Work in Progress
Updated: 8/10/2025
The Source Code is already available on our GitHub Repository and the documentation should be done soon.
Check out our General Unity UI Toolkit Tutorials for more information and to read the primer for this section.
Tutorial Introduction
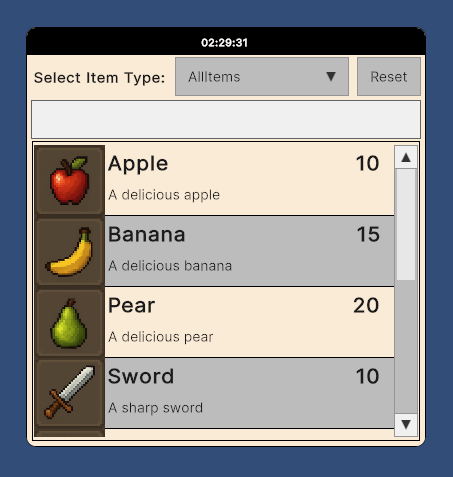
In this tutorial we will be building a runtime window that uses Unity 6 DataBinding system in UI Toolkit to display data about some example inventory items from a Data Model. The form we make will have 2 filtering options, a DropdownField displaying the item types available, a Textfield allowing a search feature and a reset Button used to show a Unity Event. Results will be displayed in a Listview element that uses the data model to populate its items. We will also add a UXMLObject in the form of Custom Controls as a Clock to the header. UXML Objects are great little independent items that can run in isolation and update your UI as needed by using is as a Custom Binding Type
The Binding system in Unity 6 is still a work in progress, but it gets better and better with each new release. It is a powerful system once you get used to the way UIToolkit elements are addressed and understand the data model as a middle man between your data and your UI. You can follow along and copy past the code into your project or you can download the completed project from our GitHub Repository and then follow along with the explinations. The source code also has extensive documentation for each method including importaint variables and attributes and is the exact same code that is show on this page in the code snippets section below.
Once completed with project setup we will go over each of the files in detail and I will include screen shots of the section being discused so you can follow along or take notes in your own code.
Running example of the finished code in this tutorial.

Unity 6 UI Toolkit Reference Materials
The following sites were used while I was learning UI Toolkit and in the creation of this tutorial. There are also numerous YouTube video based tutorials that you can follow on UI Toolkit and UI Builder itself and I will eventually make an accompany video for this tutorial and post the link here once it is completed.
- UI Toolkit Documentation: https://docs.unity3d.com/Manual/UIElements.html
- Runtime Data-Binding: https://docs.unity3d.com/Manual/UIE-runtime-binding.html
- UI Builder: https://docs.unity3d.com/Manual/UIBuilder.html
- UI Toolkit Manual Code Examples: https://github.com/Unity-Technologies/ui-toolkit-manual-code-examples
- Garage-Ware Games Public Repositories: https://github.com/GarageWareGames/Unity-UI-Toolkit-Tutorials
Watch the Video Version of this Tutorial
On The Garage-Ware Games YouTube Channel
Tutorial Primers
We have created some additional standard help and reference content that we use in all of our Unity tutorials. We have listed them here for quick access as this tutorial assumes at least general understanding of the topics.
-
If you are a new developer that has worked only with local files then you can look at our How To Download From GitHub Tutorial and you can download a working copy of the project to follow along with OR you can use the code snippets below to create each file as they are covered.
NEVER open compressed files from an unknown source!
Note: This example project is a working asset similar to a downloaded asset, there are only a few files but they are detailed with comment based documentation
If you are familiar with GitHub then you can access our Repository at https://www.github.com/GarageWareGames there you will find our Unity UI Toolkit Tutorials source code repo with this tutorial being in the /InventoryExample folder. Our examples are NOT completed project's, they are assets only (i.e. Scripts, Scenes, Images, etc) much like a downloaded asset from the asset store. We DO NOT include compressed files of any kind in our public repositories, this includes Assets Bundles, and any other type of compressed files. GitHub does allow you to download a zip of the repository, but that is GitHub creating the compressed file of our repo for you so it can be transferred, not us. -
We have created a starter tutorial on Unity6 Data-Binding that covers the same fields used here demonstrating the Data Model used to power a UI and the binding process of each Visual Element, one at a time. The code for this section is also included in the Public GitHub Repo located in the DataBinding folder.
View Primer Tutorial Video on YouTube | Local in Modal Window
Project Setup
Perform the following steps if you are creating the project from scratch.
- Create a Scene
In your Scenes folder create a new scene to use for the project. If you do not have a scenes folder, create one. - Create all C# Script files
Using the standard Unity Project Layout, create a folder called scripts, within your new Scripts folder create each of the .cs files below and paste the code into the proper files.
- Create the needed Resource files
If you do not have a Resources folder then create one. In your Resources folder create a Stylesheet(USS) and a blank UXML document, copy theInventoryDataBinding.usssource code into the newly created USS file using a code editor, the UXML document just needs to exist and be linked in the UI Document Component. - In the Resources folder create another folder called
DataBindingand copy download the images into it.
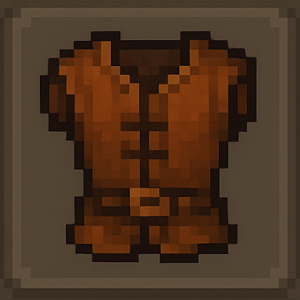
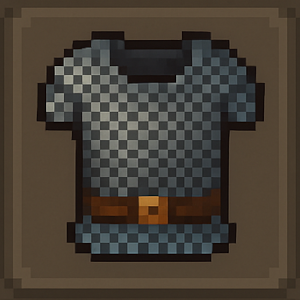
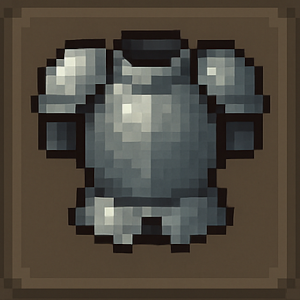
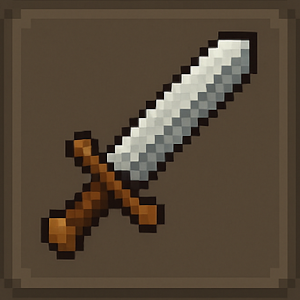
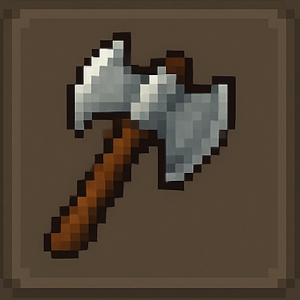
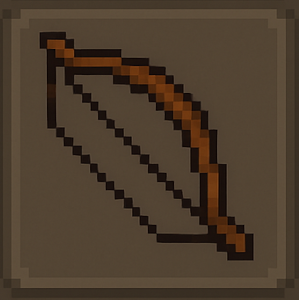
Here is a list of the images included with this project, you can download them by right clicking on each image and selecting download image, saving them to the DataBinding folder you created in the previous step.
Images Used In Project*You may also need to convert the images into a sprite UI format.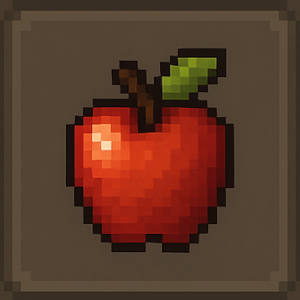


If you are unsure how to do that then see our
Getting Your Images Ready for UI Toolkit tutorial
The folder structure as shown in our repository
contains subfolders in the scripts folder that are not required
but it is considered a good practice to keep scripts orginized
Typically grouped by purpose, function or systemProject Structure Once At This Step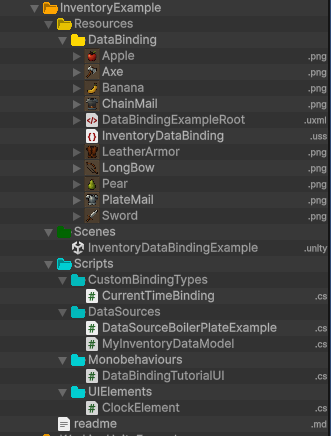
- Importaint Note on the Folder Structure:
You may notice that there is an additional file in the repository, theDataSourceBoilerPlate.csfile in the Datasources directory is included in the repo download but is not an actual part of this tutorial. It is the base code compiled from the Unity documentation on UI Toolkit DataBinding that is used to create Data Models and is included for reference only to help in your learning and skill development. - Open your Scene and Add a UI Document
Right click in the Scene hierarchy and select UI toolkit - UI Document. Once created make sure you have a Panel asset assigned and then Add the UXML docuemnt you just created. -
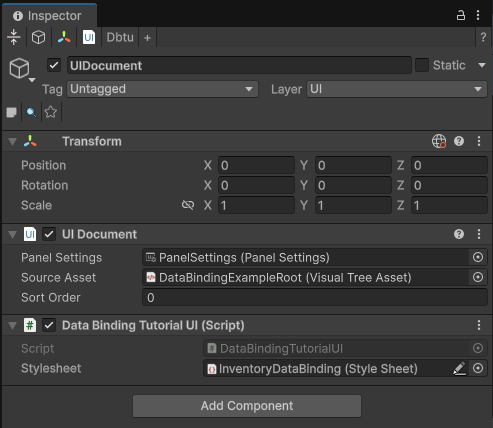
Attach the
DataBindingTutorialUI.csMonobehavior to the UI Document
You can drag theDataBindingTutorialUI.csscript from the project window on to the UI document in your Secene Hierarchy -OR- You can select the UI Document and use the Inspector to add the script by clicking Add Component the searching forDataBindingTutorialUIpnce completed you see the following:Views of your Scene heirarchy and Inspector view of the selected Ui Document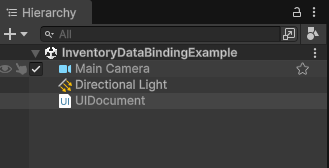
- Enter PlayMode to see the Runtime window
At the top of the Unity Editor window click the Play button and make sure your in the Game View tab. the form will auto populate with the sample inventory, 9 items total. This form uses all the same controls covered as individual items in our Understanding Unity UIToolkit Data-Binding Tutorial with all of the individual Visual Elements working together to create an in game user interface.
The
DropdownFieldis linked to the data source using 2bindings, one feeding thechoiceslist in a read only setup and another sending and receiving the selectedvaluein a read/write setup. TheTextfieldis a basic search feature and is bound using a write only setup. The list of items will be filtered based on the selected item type and the entered text. TheButtonuses a simple but effective way to link the built inbutton click eventto theData Modelthat will reset the form when activated. And there is theListview Elementitself that uses the Datamodel to populate a list that uses acustom controlto display the line item data. Finally, just as an extra example from the Unity Docs, there is aCustom Binding Typecalled Current Time Binding that powers the Custom Control and displays a running clock in the header.If for some reason you are getting an error when you enter Playmode then make sure that your project structure matches that on the folder structure sample image above.
If the images are not displaying then they are in the wrong folder location OR have not been converted into a Sprite / GUI UI format.
If you just see the wire frame display then make sure you are on the Game View Tab.If you still have errors then please copy your error into an email and send it to support@garage-ware.com and we will try and help you best we can.
The Data Model
Section is a Work In Progress
The DataBinding Tutorial UI
Section is a Work In Progress
The Current Time Custom Binding Type Example
Section is a Work In Progress
The Clock Element Custom Control
Section is a Work In Progress
The USS Style Sheet
Section is a Work In Progress
C# Scripts Source Code
The C# source code is included here for reference, you can use it to recreate the project from scratch if you like. Once you have copied the code you will need to setup your project and scene.