How to Install Assets from the Unity Asset Store (Unity 6)
Please Note:
This article is a Work in Progress
Tutorial for beginners on How to install and setup Unity assets and get your Unity project setup.
Step 1: Choose a way to open the Unity Asset Store
- You can open the Unity Asset Store in your browser.
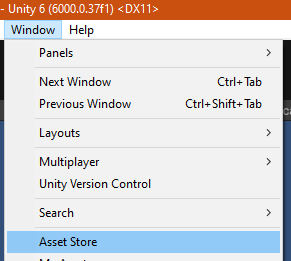
- Or with your Unity 6 project open, click on the Window menu, then choose Asset Store.
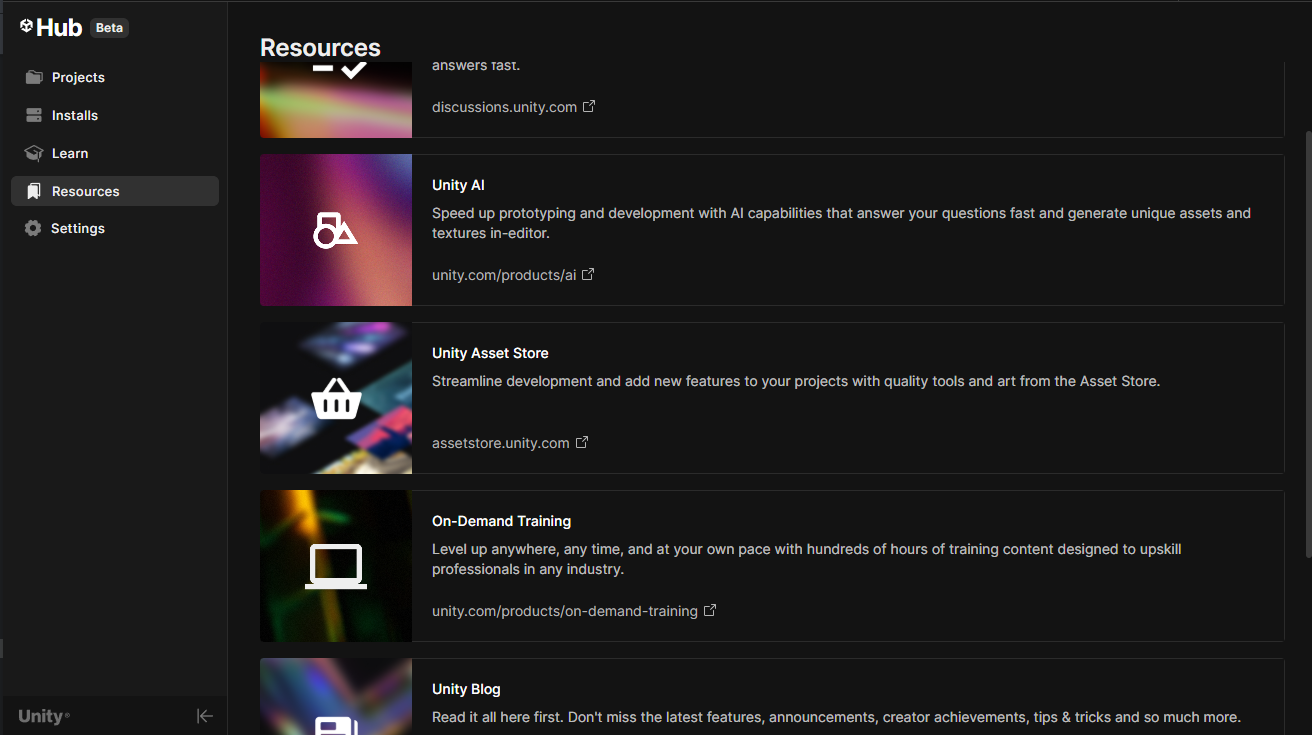
- If you don't see Asset Store in the menu, use the Unity Hub to browse for assets and click Open in Unity.
Menu Item in Unty Editor
 Unity Hub Resource Listing

 Unity Hub Resource Listing
Step 2: Find the Unity Asset You Want to Setup
- Search for an asset using keywords or browse categories.
- Click the asset name to view details, reviews, and price.
Search bar on Unity Asset Store


Step 3: Purchase or Download the Asset
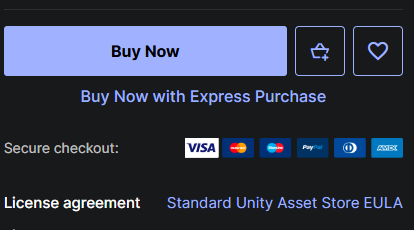
- Click Buy (for paid assets) or Download (for free assets).
- Complete the checkout process if required.
Buy Button in Unity Asset Store


Step 4: Install the Unity Asset into Your Project
- Once downloaded, click Open In Unity from the Asset Store window or the Unity Package Manager.
- A dialog appears showing all files included in the asset. Select the files you need and click Import.
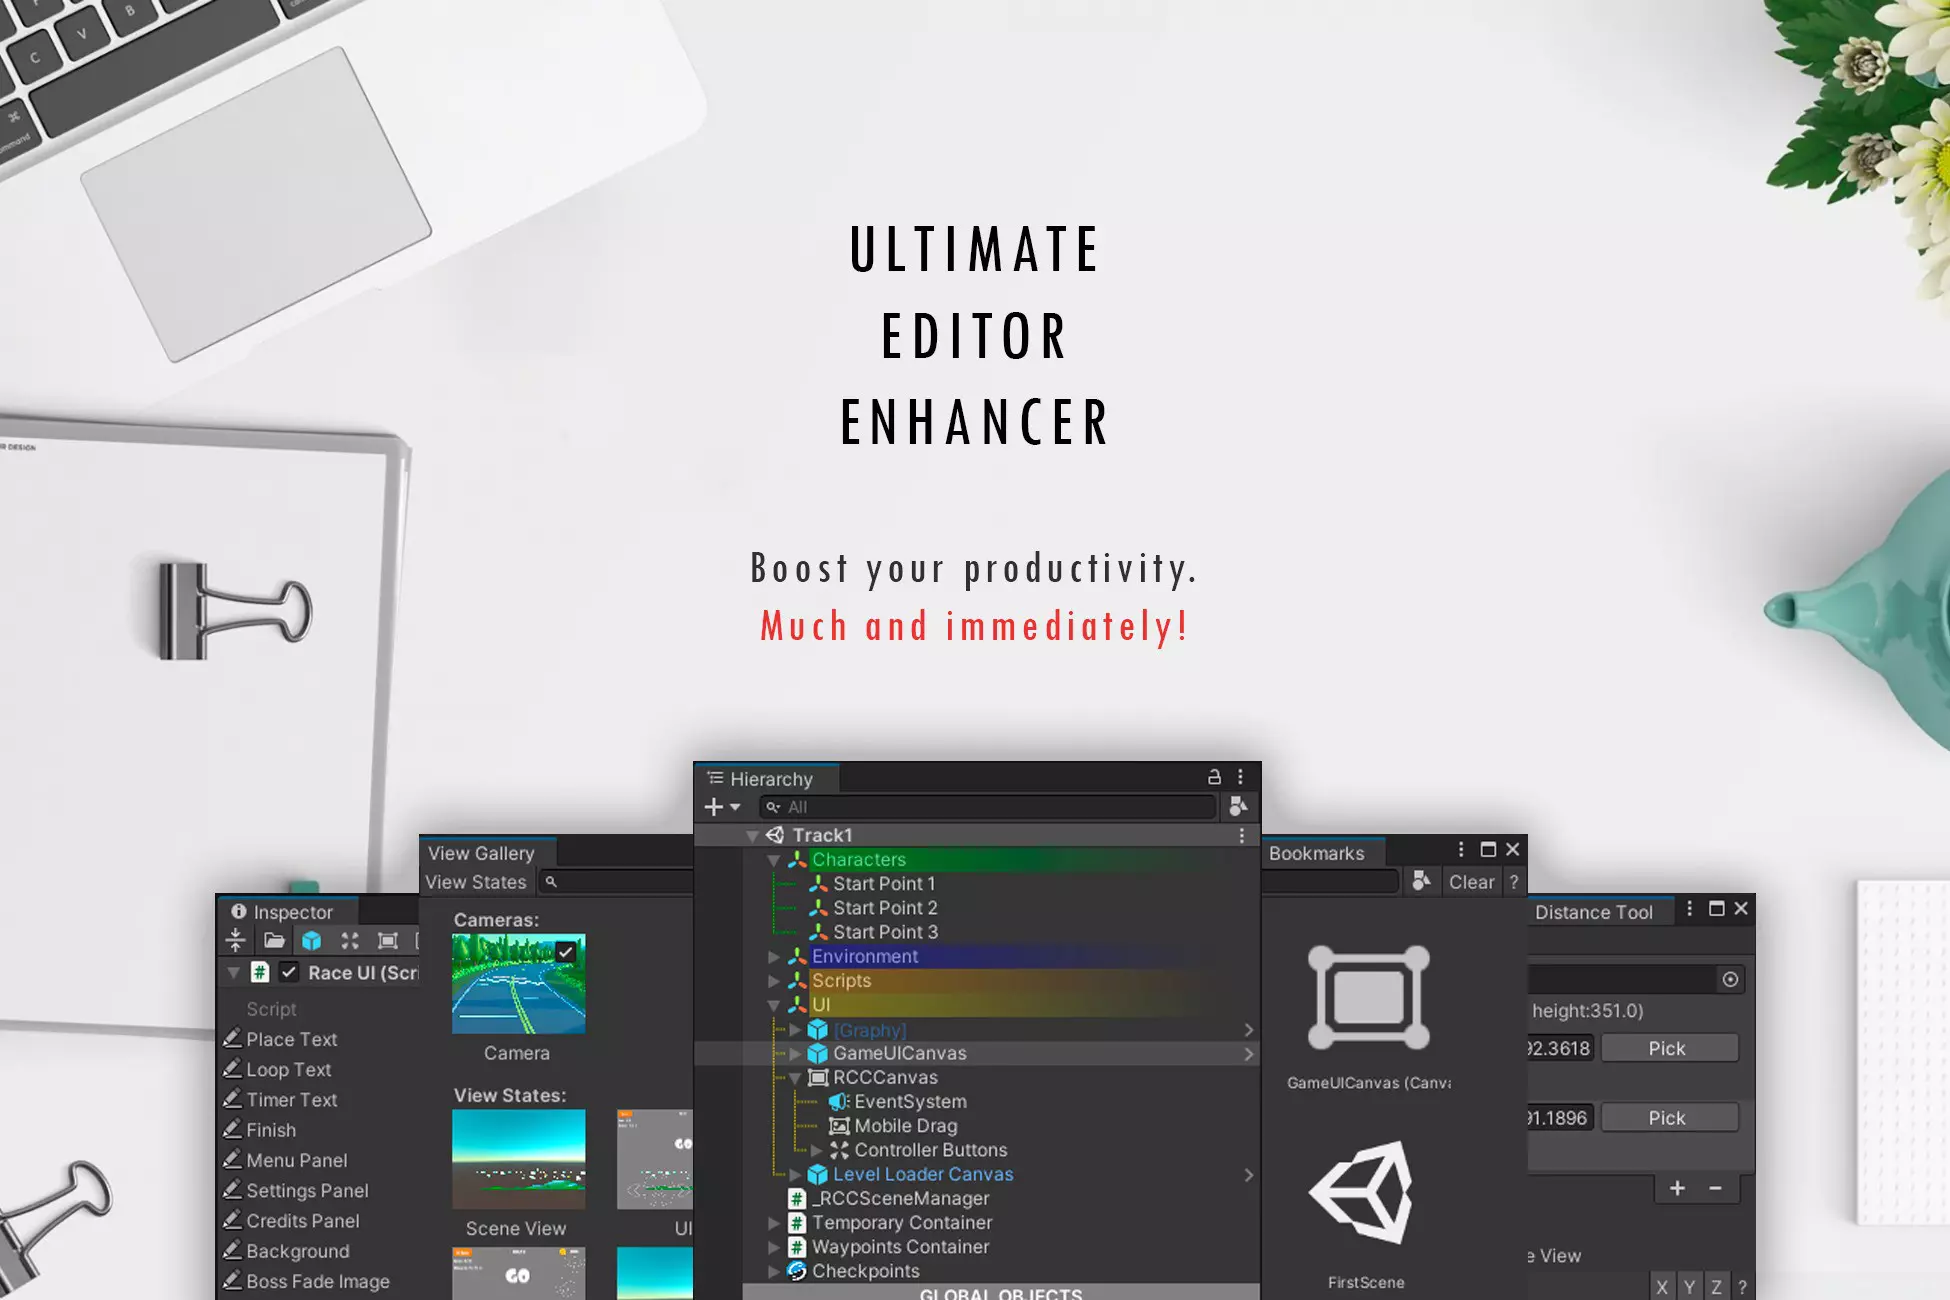
Download Buton Unity Asset Manager


Step 5: Find Your New Imported Unity Asset Installation
- Look in the Assets folder in the Project window for your new Unity Asset Installation, typically they are named after the developer or asset name. You can also look in the Asset manager information for the asset under the Imported Assets tab to see the installation path.
- If you see any errors then you may need additional packages installed, the error message will usually tell you the package you need or you can check the using statments to see the package name and you can use the asset managers 'install by package name' feature.
- Your Unity Project is now setup to use your new asset. You can now drag them into your scene or use them in your scripts.
Tip: Always review asset documentation for setup notes and compatibility with Unity 6.


