Loading...
Searching...
No Matches
Project Setup
Proper setup of the asset will minimize the posibility of future updates cause issues within your project and have outlined the steps with links to all required reference materials here.
-
Download and install the assetYou can install this asset into any project. We have a basic tutorial if you are not sure on how to do this that you can view here:
Downloading and Installing and Asset from the Unity Asset Store
Once the import is completed there will be a new folder within your project:
Assets/GarageWareGames/WindowFramework.
In that folder you will see everything that makes up the asset. The Window Framework asset usesResource.Loadcalls to access stylesheets and UXML documents. This means that you are free to move the asset anywhere you like to best fit your project layout althought we recomend the default location since testing outside the default folder has been limited and so that all related documentation matches. -
Check out the Demo's to verify everything is workingWe have created demos that can be found in:
Assets/GarageWareGames/WindowFramework/Demo/Scenes/there you will find 2 scenes one calledDemothat will show you a general UI with a toolbar, help window, and settings window, this demo is dynamic as windows can be moved, resixed, toggled fullscreen and all settings alterable. The second calledDemo Locked Windows in Start Locationswill show you a static window implimentation with a window locked to each start posittion available. some windows also have elements added. This static demo is a UXML documents with placed window and settings configured to meet the need.
You can read more about the demos on the Demo Scene Page. -
Create your First ThemeYou are welcom to use the included themes however due to to Unity file linking, simply changing values in the included themes will cause data loss on an update of the asset. It is importaint to folow these stepos so that your files are not effected. For this example we will make a new copy of the default theme in our projects folder system so that it is independant of the asset. Read the Creating Themes Section on the Themes and Styling Page to create the first theme to serve as the default for your project.
-
Create a Theme Data File for your projectYou will need a place to store your theme data, in the editor menu open
Tools > Garage-Ware Games > WindowFramework > Theme Managerto open the Theme Manager Interface and follow the initial setup as outlined on the Themes Manager Window Page
You can also right click on your new Themes folder and selectCreate > Garage-Ware Games > WIndowFramework > New Theme Data Fileto create the file however you will still need to use the Themes Manager Window to modify the data. -
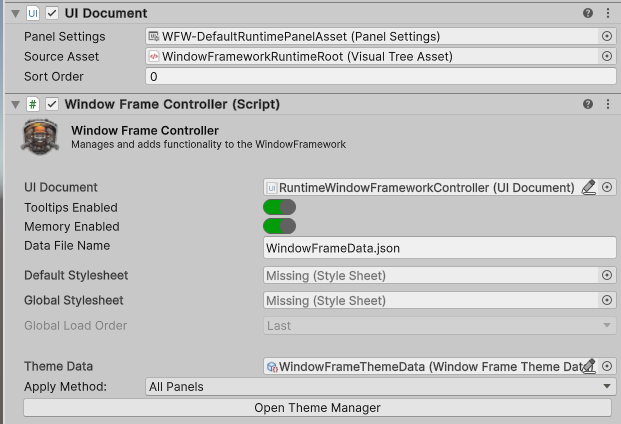
Add the Controller Prefab to your startup sceneWe have included a controller prefab in the Prefabs folder that is pre configured with the demo theme data file. You can add then uppack the prefab and set the controller to use the theme data file created in the previous step or you can drag the WindowFrameController.cs file to your scene and configure it manually.
These settings are covered in detail on The Window Frame Controller page.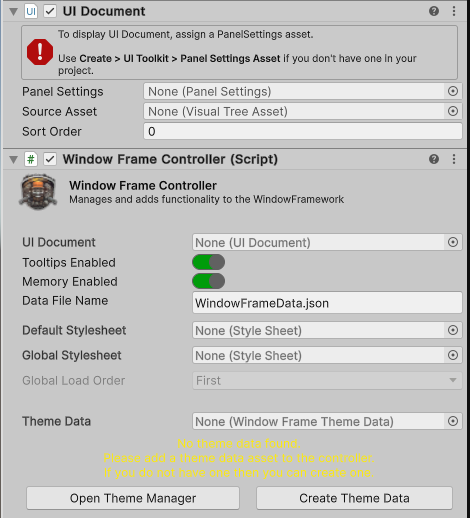
-
Create a UI Controller and WindowsYou are now ready to use the Window Framework but you will still need to create the UI controller and screens for your application. We have a few basic tutorials on our YouTube Channel to get you started and with the 1.2.0 release we will start making more advanced tutorials soon.